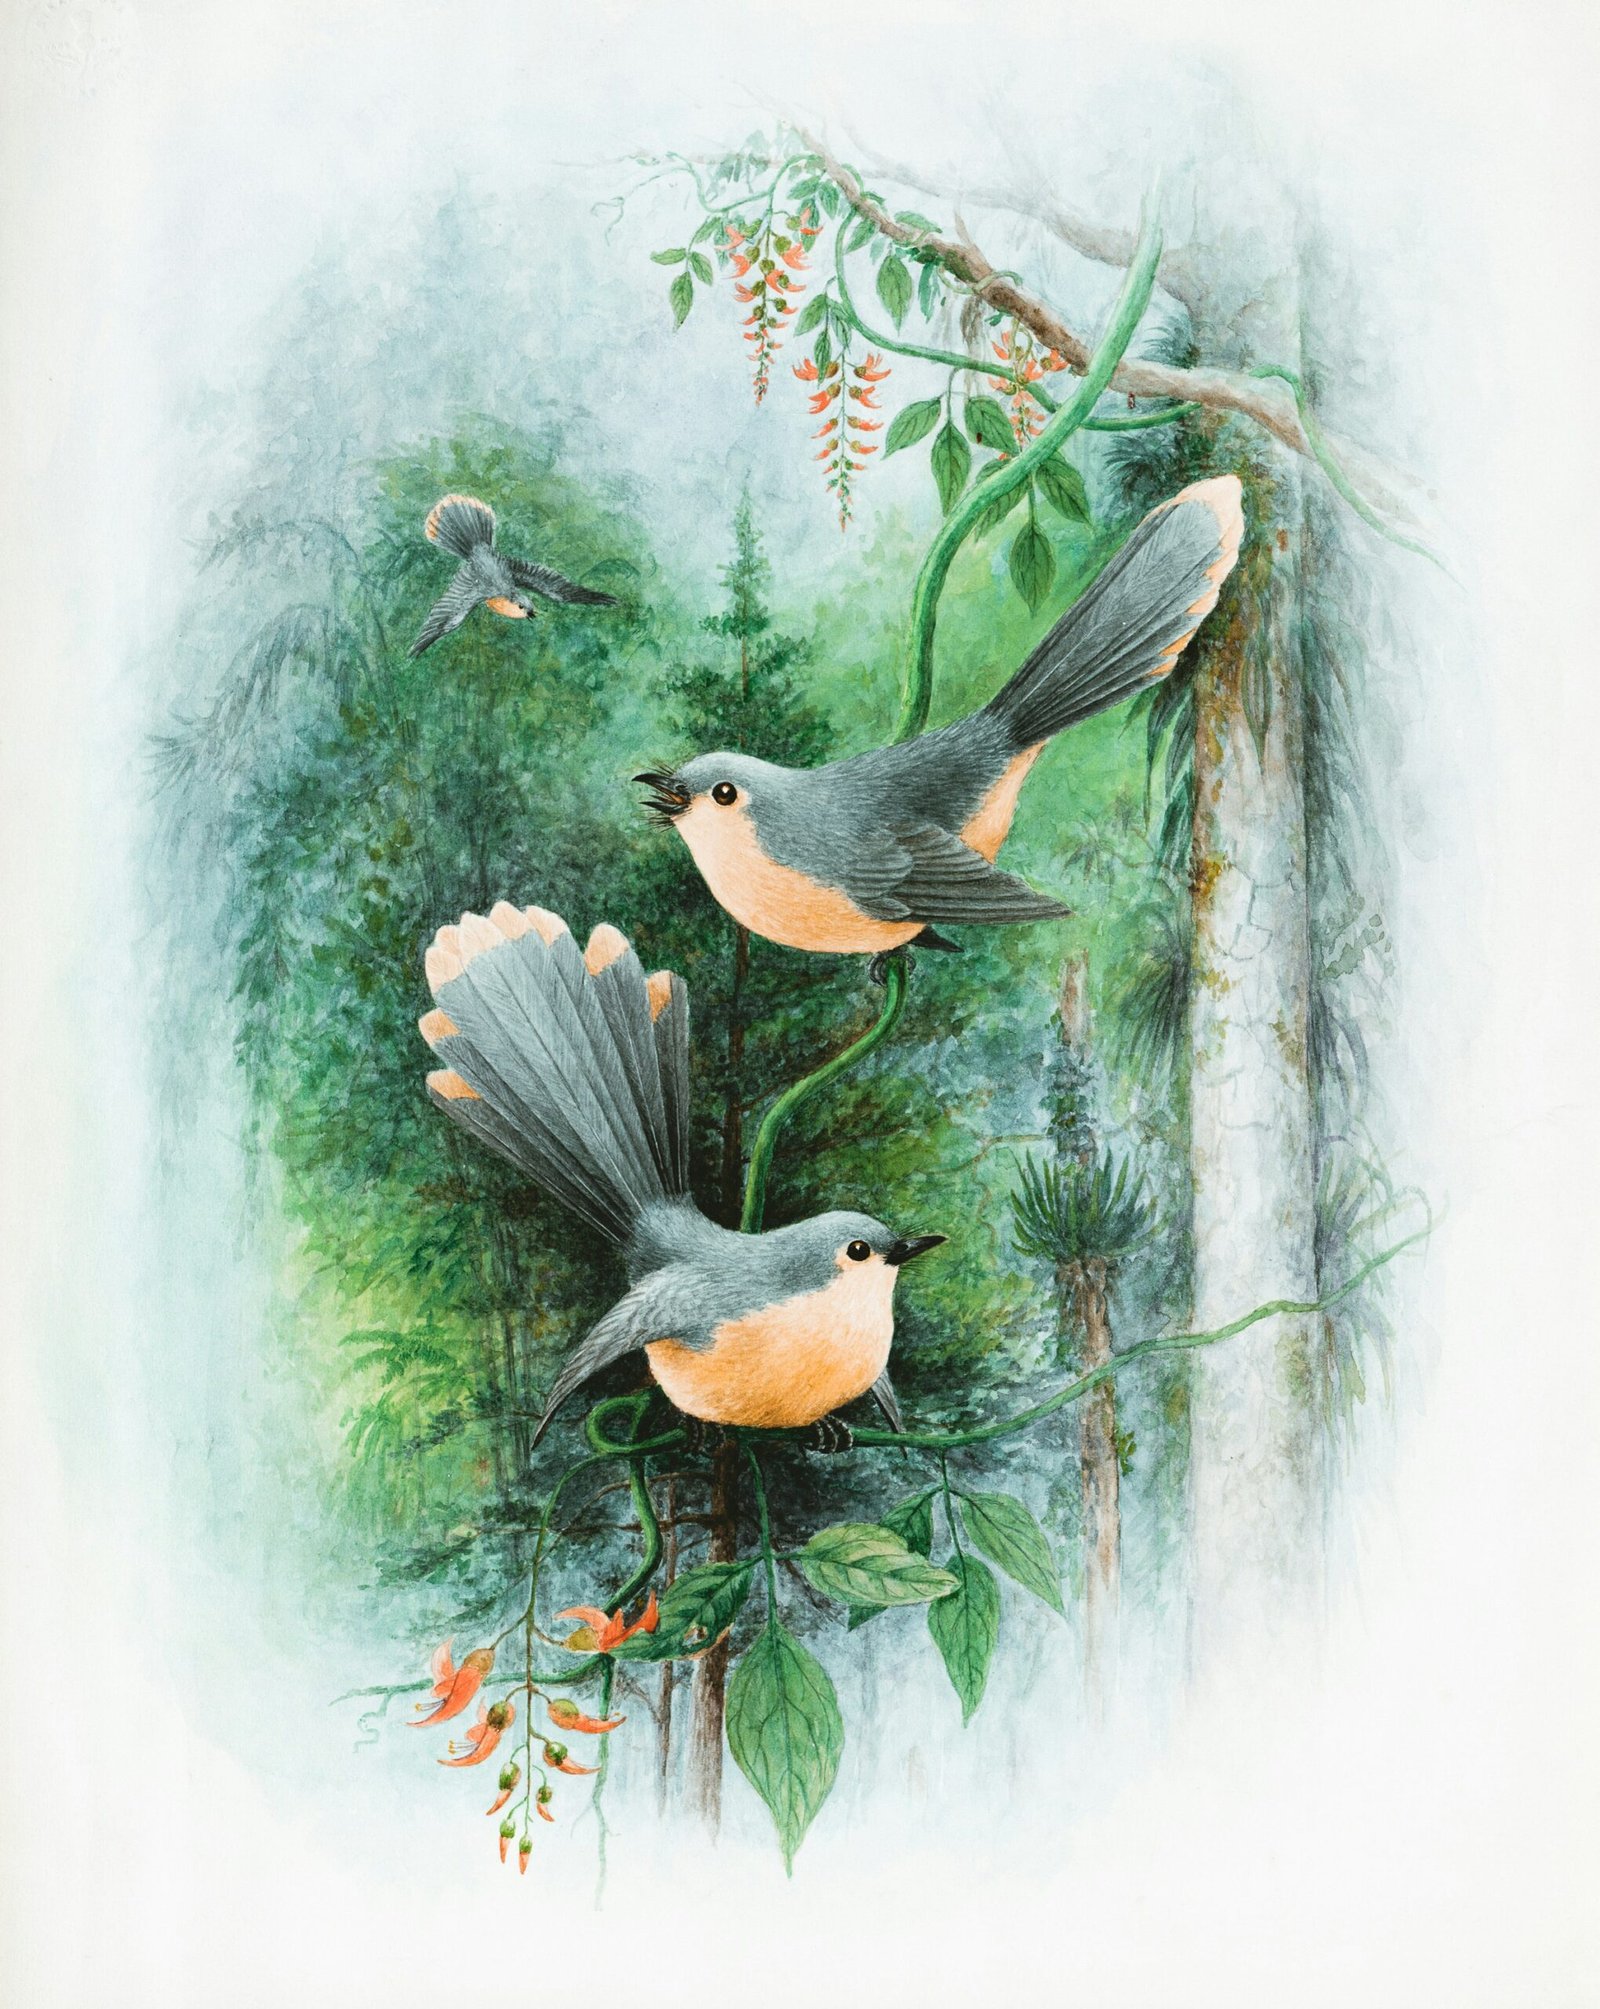
How to Create Your Own Painting
Painting is a wonderful way to express your creativity and bring your imagination to life. Whether you’re a beginner or an experienced artist, this guide will provide you with step-by-step instructions on how to make your own painting.
1. Gather Your Materials
Before you start painting, make sure you have all the necessary materials. You will need:
- Canvas or paper
- Paint brushes
- Acrylic, oil, or watercolor paints
- Palette or mixing tray
- Easel or a flat surface to work on
- Palette knife (optional)
- Water (for watercolor or acrylic paints)
- Turpentine or paint thinner (for oil paints)
2. Choose Your Subject
Think about what you want to paint. It could be a landscape, a still life, a portrait, or something abstract. Look for inspiration in nature, photographs, or your own imagination. Once you have a clear idea of your subject, sketch it lightly on your canvas or paper.
3. Plan Your Composition
Consider the placement and arrangement of your subject within the frame. Think about the balance, focal point, and overall composition of your painting. This will help you create a visually appealing and harmonious artwork.
4. Mix Your Colors
If you’re using acrylic or watercolor paints, squeeze out the colors you need on your palette and mix them together to achieve the desired shades. For oil paints, use a palette knife to mix the colors on your palette. Experiment with different combinations to create unique hues.
5. Start Painting
Begin by applying a base layer of paint to your canvas or paper. This will provide a foundation for your artwork. Then, gradually build up the layers, working from the background to the foreground. Use different brush strokes, textures, and techniques to add depth and interest to your painting.
6. Take Breaks and Step Back
Painting can be a time-consuming process, so it’s important to take breaks to rest your eyes and evaluate your progress. Step back from your artwork and assess the composition, colors, and overall effect. This will help you make adjustments and improvements as needed.
7. Add Details and Finishing Touches
Once you’re satisfied with the overall painting, it’s time to add details and finishing touches. Pay attention to small areas that need refinement or highlights that can enhance certain elements. Use a smaller brush or a palette knife for precision.
8. Let Your Painting Dry
Allow your painting to dry completely before handling or displaying it. The drying time will depend on the type of paint you used and the thickness of the layers. Be patient and avoid touching the surface until it’s fully dry.
9. Protect and Display Your Artwork
Once your painting is dry, protect it by applying a varnish or fixative. This will help preserve the colors and protect the surface from dust and damage. Then, choose a suitable frame or mounting option to display your artwork proudly.
10. Practice and Experiment
Remember, creating a masterpiece takes time and practice. Don’t be afraid to experiment with different techniques, styles, and subjects. The more you paint, the more you’ll develop your own unique style and improve your skills.
Now that you have the basic steps to create your own painting, it’s time to unleash your creativity and start painting. Enjoy the process and have fun expressing yourself through art!

